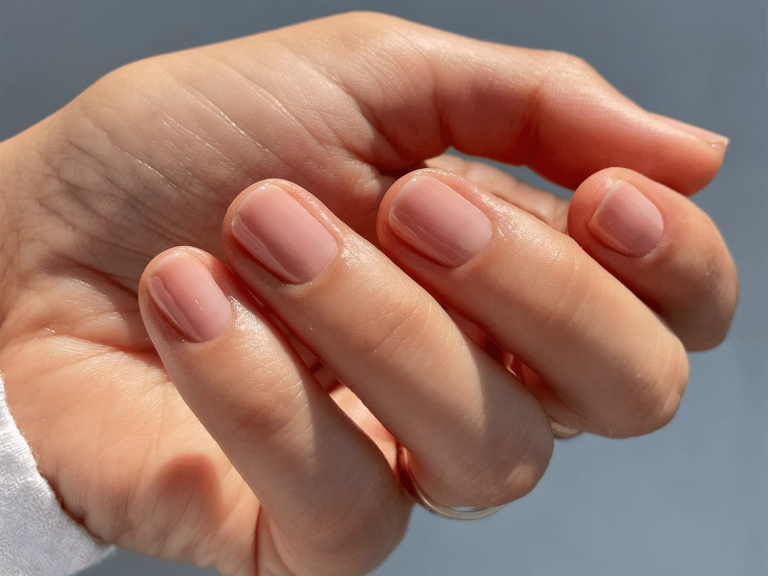
A perfect manicure starts with the perfect canvas: a well-prepared nail. While much attention is given to polish and art, the true secret to a flawless, long-lasting finish lies in the often-overlooked tool—the nail bit. Understanding its importance, how to choose the right one, and how to use it correctly is fundamental for both salon professionals and at-home enthusiasts.
The Importance of Nail Bits
Nail bits, or drill bits, are not just for removing gel polish. Their primary role is in precision preparation and shaping. A properly used nail bit creates a smooth, uniform surface, which allows enhancements like acrylics or gel to adhere strongly, preventing lifting and premature chipping. It also expertly shapes the free edge of the natural nail, ensuring a clean, professional look. For natural nails, gentle bits can expertly buff and shine, promoting health and strength without the damage often caused by manual filing.
How to Choose the Right Nail Bit?
Selecting the correct bit is crucial for both safety and effectiveness. The key is to match the bit’s grit and shape to your specific task.
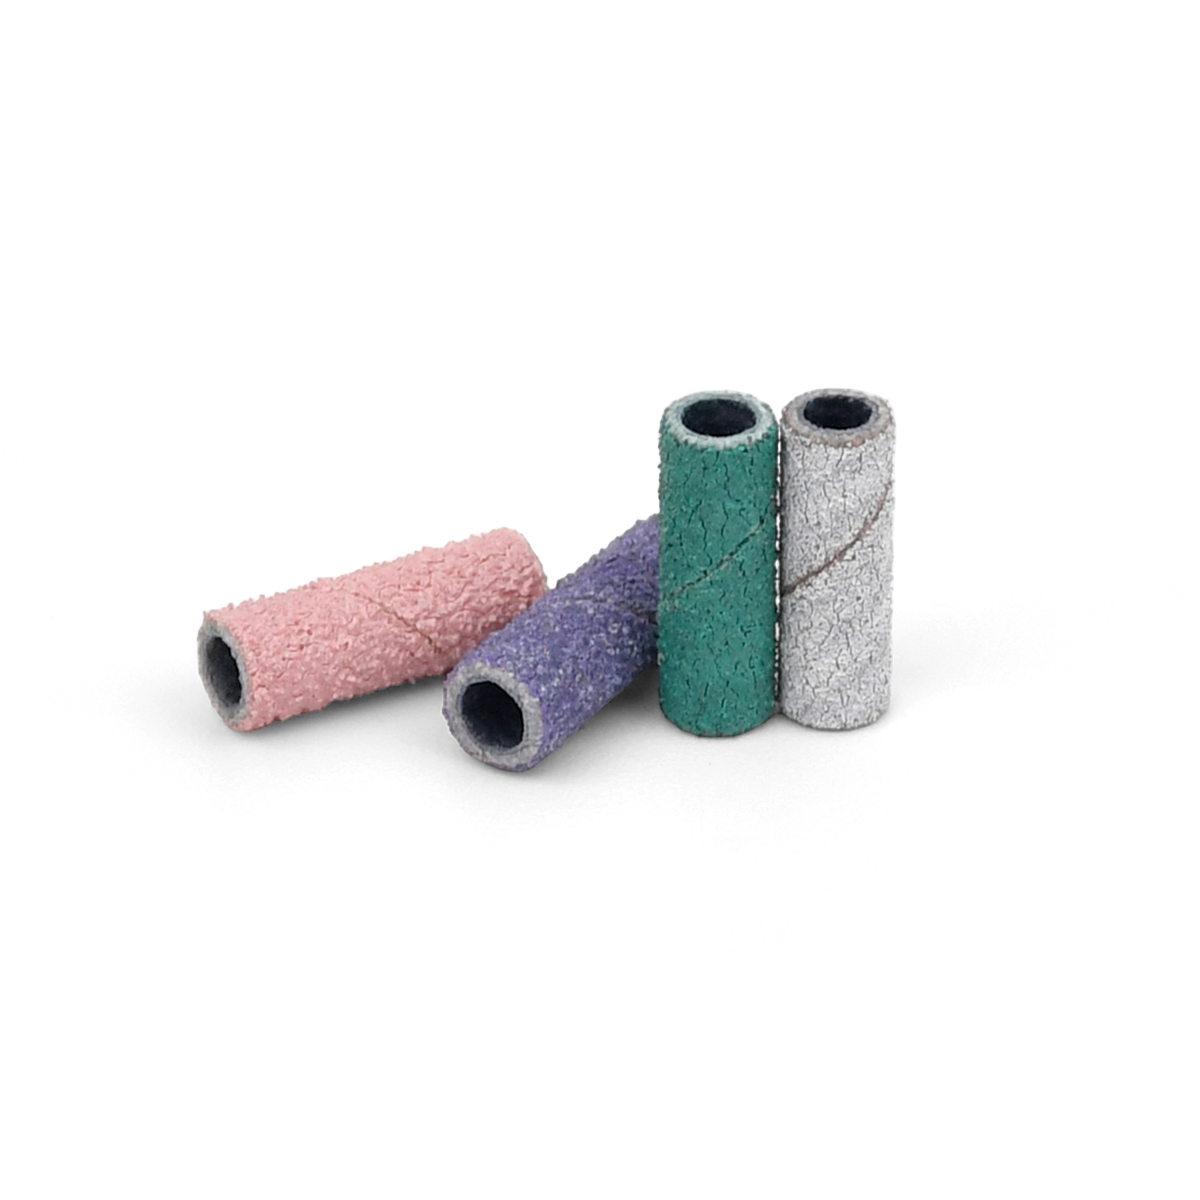
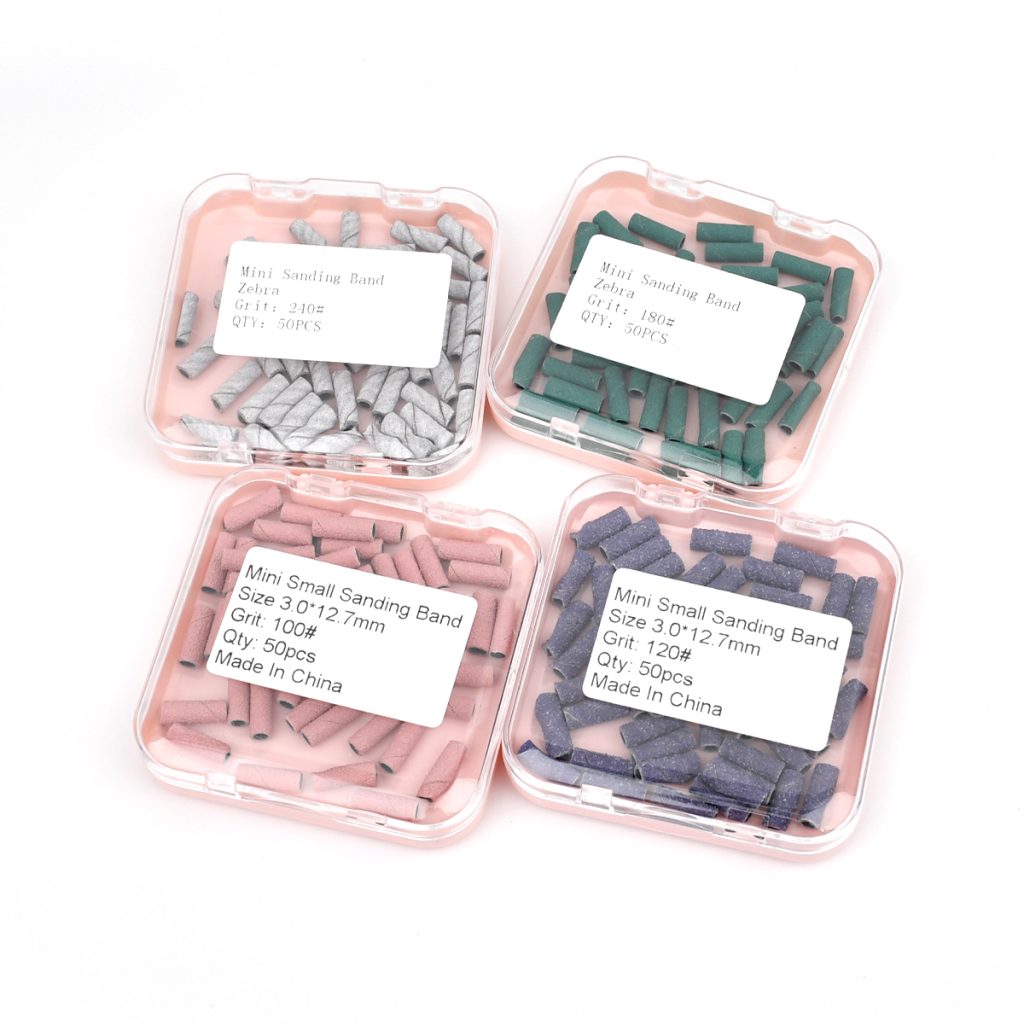
1. Grit (Abrasiveness):
- Coarse Grit: These are aggressive bits used for quickly removing thick acrylic or hard gel enhancements. They are not for use on the natural nail plate.
- Medium Grit: Ideal for refining the surface after a coarse bit, shaping the nail, and gently removing leftover product.
- Fine Grit: These are safe for use on the natural nail. They are perfect for gentle cuticle care, buffing, and creating a high-gloss shine.
2. Shape and Material:
- Carbide Bits: These have sharp, fluted edges and are best for efficient product removal. They are durable and long-lasting.
- Diamond Bits: Coated in diamond dust, these are excellent for precision work, refining the nail surface, and cuticle care. They are versatile and a great choice for natural nails.
- Ceramic Bits: Known for generating less heat, these are very gentle and ideal for sensitive clients and detailed work.
The Right Way to Buff Your Nails
Using a nail drill requires a light touch and careful technique to avoid damage.
1. Prepare: Ensure your nails are clean and dry. Always wear a protective mask to avoid inhaling dust.
2. Set Up: Insert your chosen bit securely into the drill. Start with a low speed setting, especially if you are a beginner.
3. The Technique:
- Always Move: Never hold the bit stationary in one spot. Keep it in constant, gentle motion to avoid friction heat and thinning of the nail.
- Go With the Flow: Move the bit from the cuticle area toward the free edge in one direction. Avoid a back-and-forth sawing motion, which can cause weakness and peeling.
- Light Pressure: Let the bit do the work. Applying too much pressure is unnecessary and dangerous. You should barely feel it on your nail.
- Check Progress: Frequently stop to feel the nail surface with your finger. This will help you achieve the desired smoothness without over-filing.
In conclusion, the humble nail bit is a powerhouse of nail care. By appreciating its role, selecting the right tool for the job, and mastering a gentle technique, you can achieve a professional, healthy, and beautiful manicure every time.