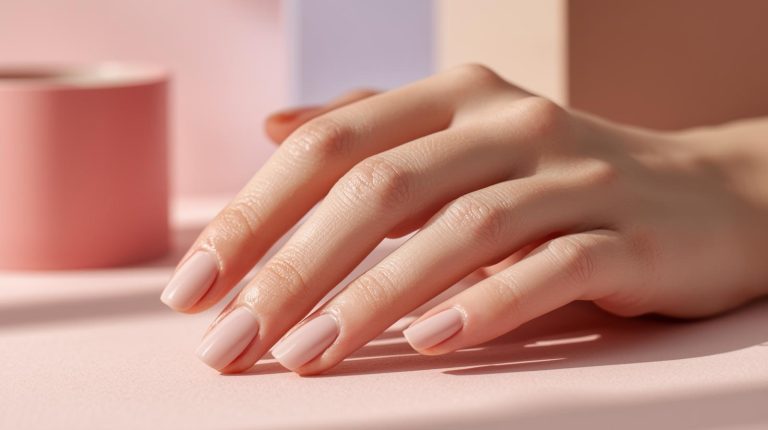
A flawless semi-permanent manicure is as much about the preparation as it is about the polish. The most expensive gel on the market won’t last if the canvas isn’t prepped correctly. That’s where your e-file and the right set of bits come in. Learning to use nail bits isn’t just about making the job faster; it’s about achieving a cleaner, safer, and more professional result.
The right bit at the right speed transforms a tedious task into a precise, artistic process. Here is how to use them like a pro.
Building a professional manicure kit starts with understanding that different materials and shapes serve unique purposes. Using the wrong bit is the fastest way to damage a natural nail.
Materials: What They Do Best
Diamond Bits are the gold standard for precision. Coated in crushed diamond particles, they are ideal for gentle cuticle work and exfoliating dead skin. A fine-grit diamond bit is perfect for cleaning the nail plate without thinning it.
Ceramic Bits are the gentle giants of the e-file world. Known for excellent heat dissipation, they remain cooler during use, making them the best choice for removing gel polish—especially on clients with thin or sensitive nails.
Carbide Bits are your heavy-duty option. With machine-cut flutes, they shave through bulk product quickly. However, they require a steady hand and should be used with caution, as they are too aggressive for natural nails.
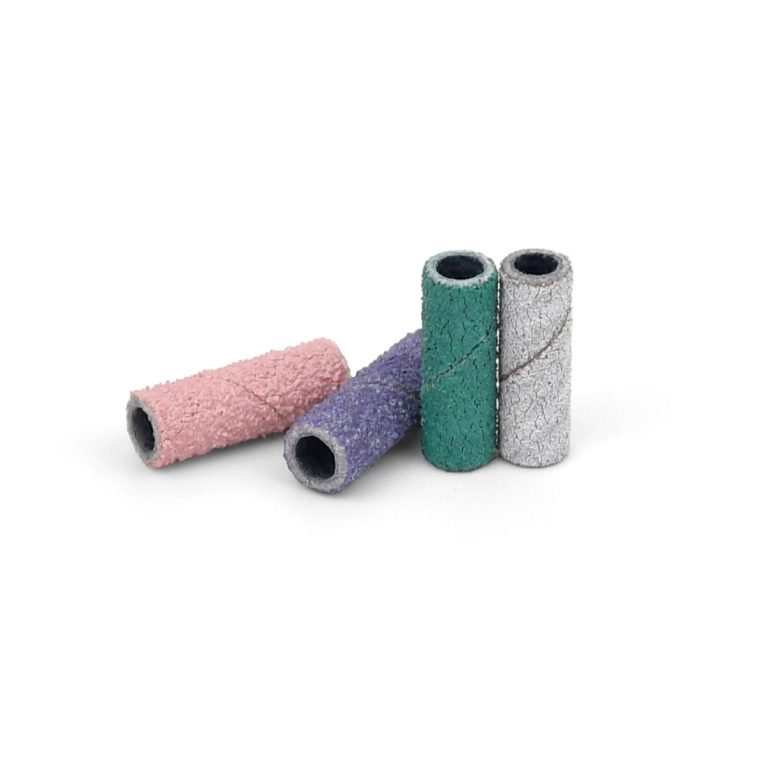
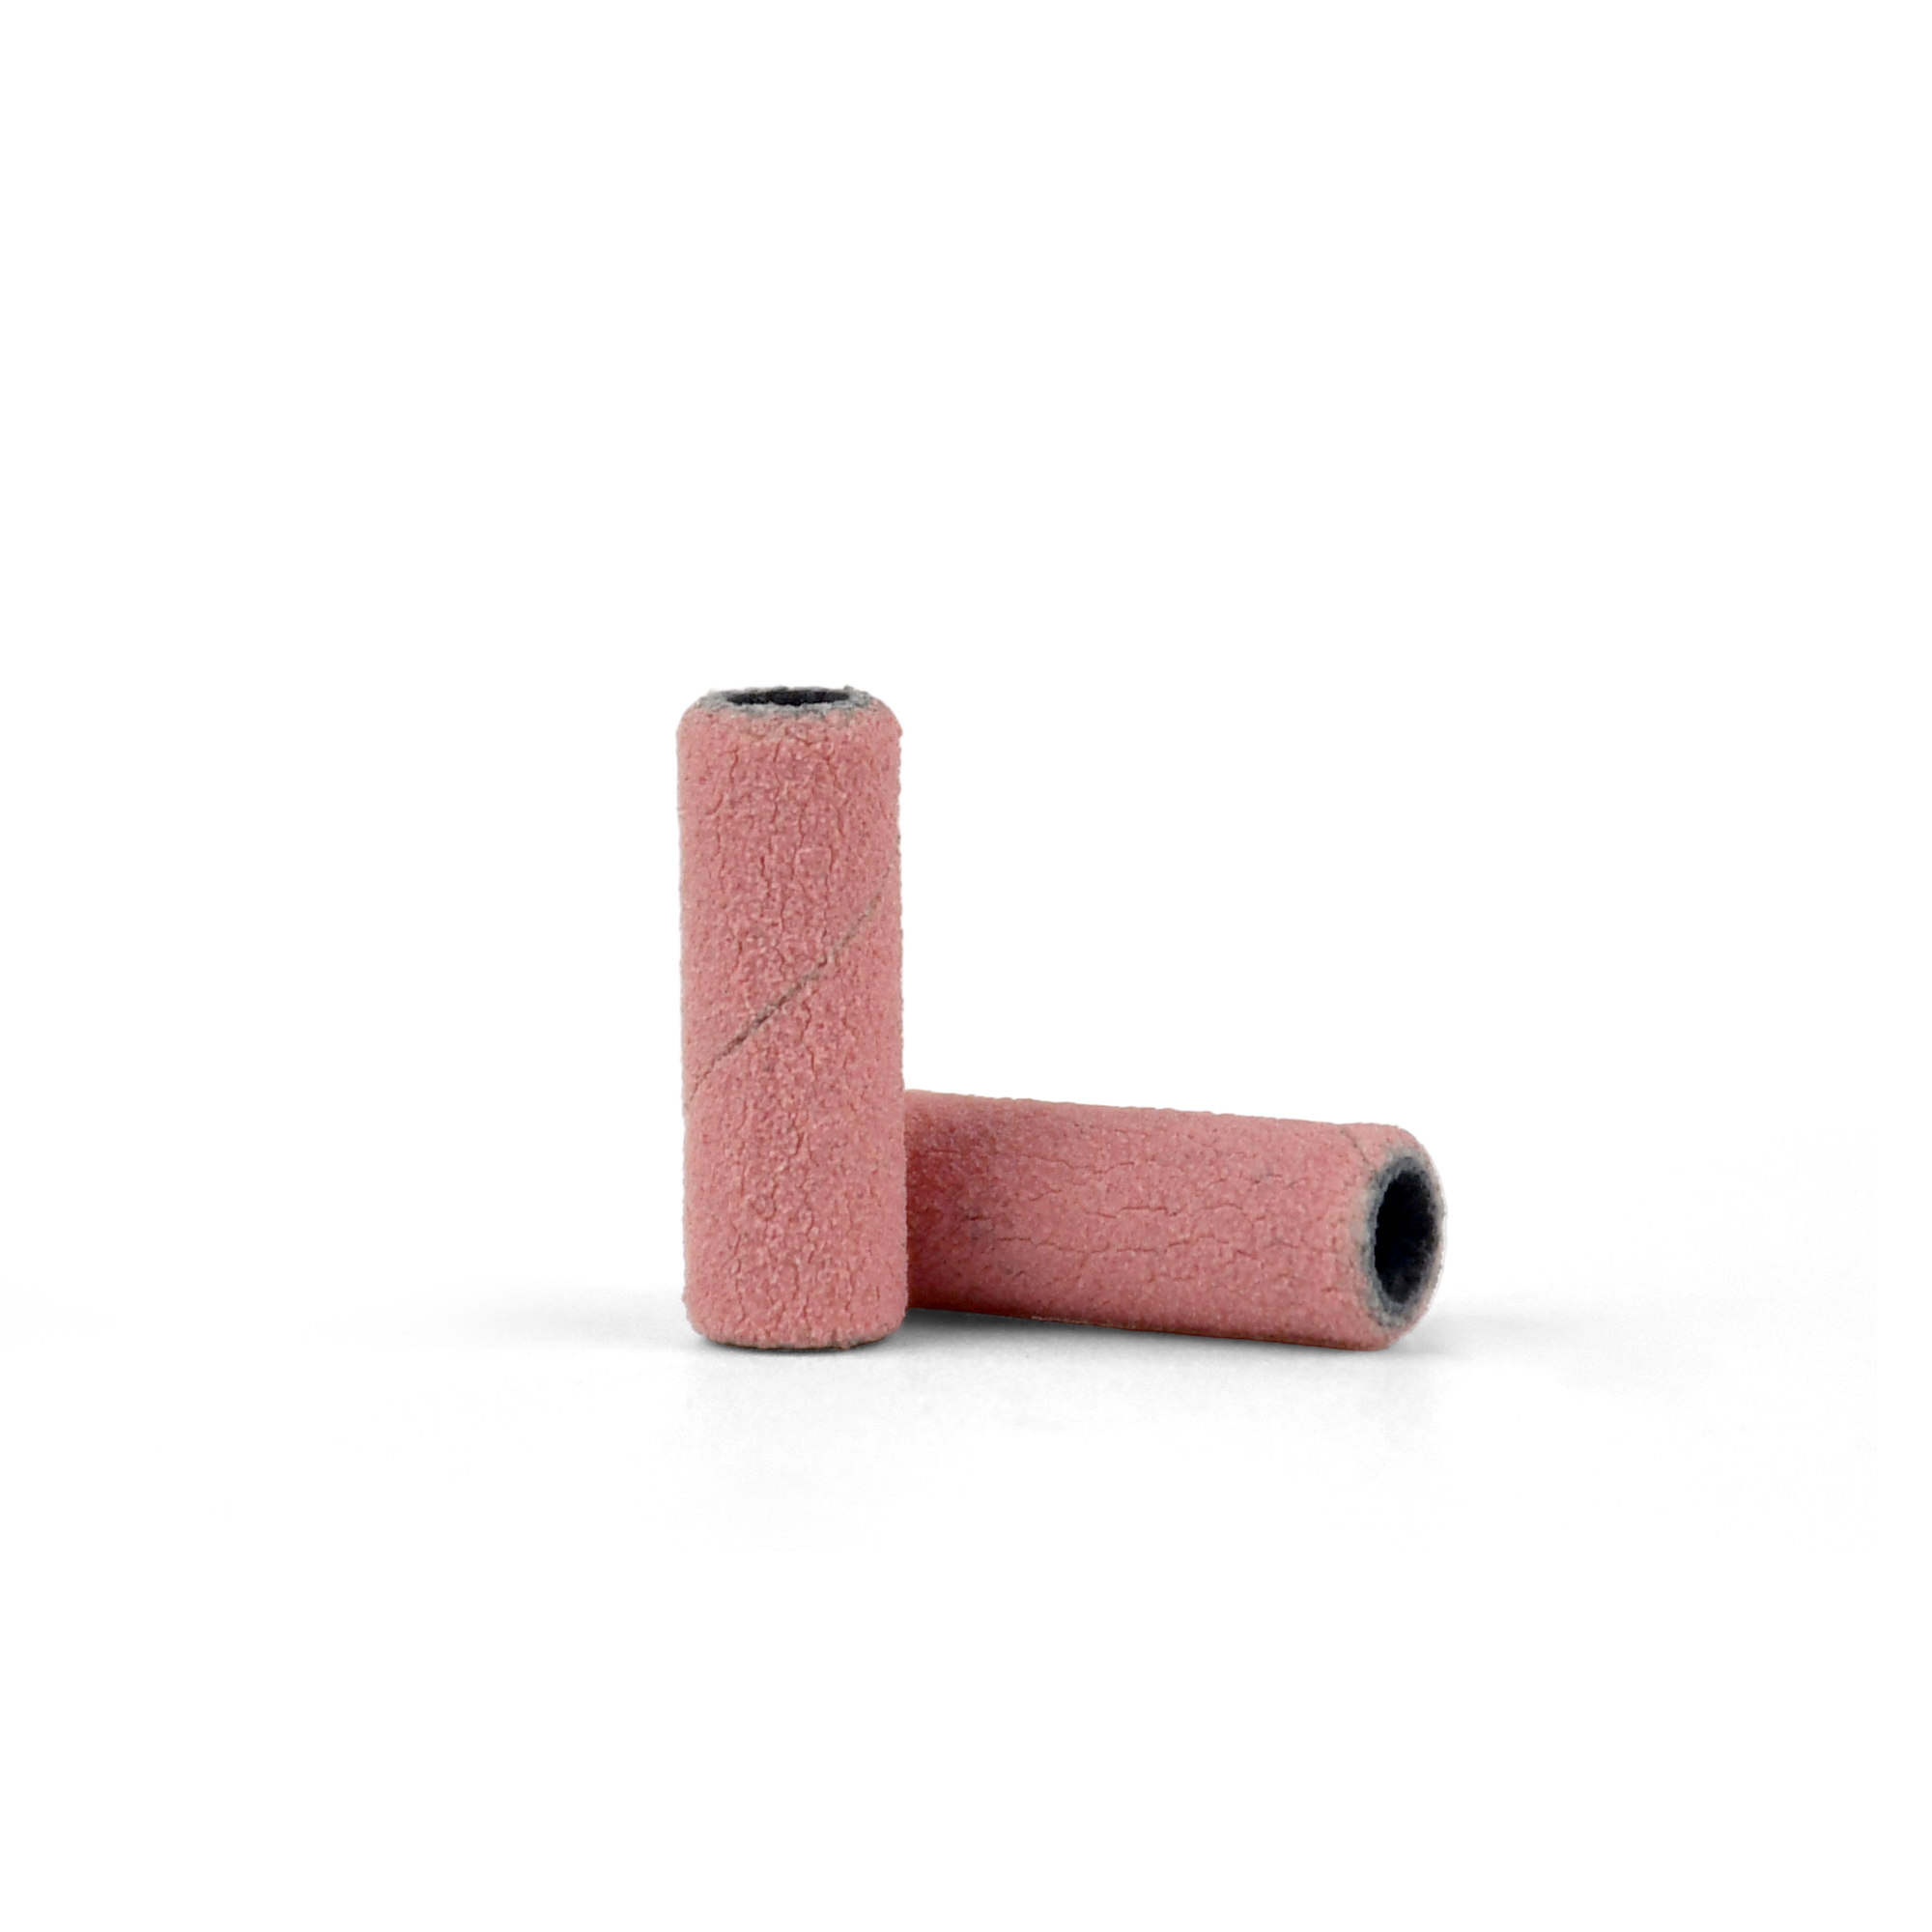
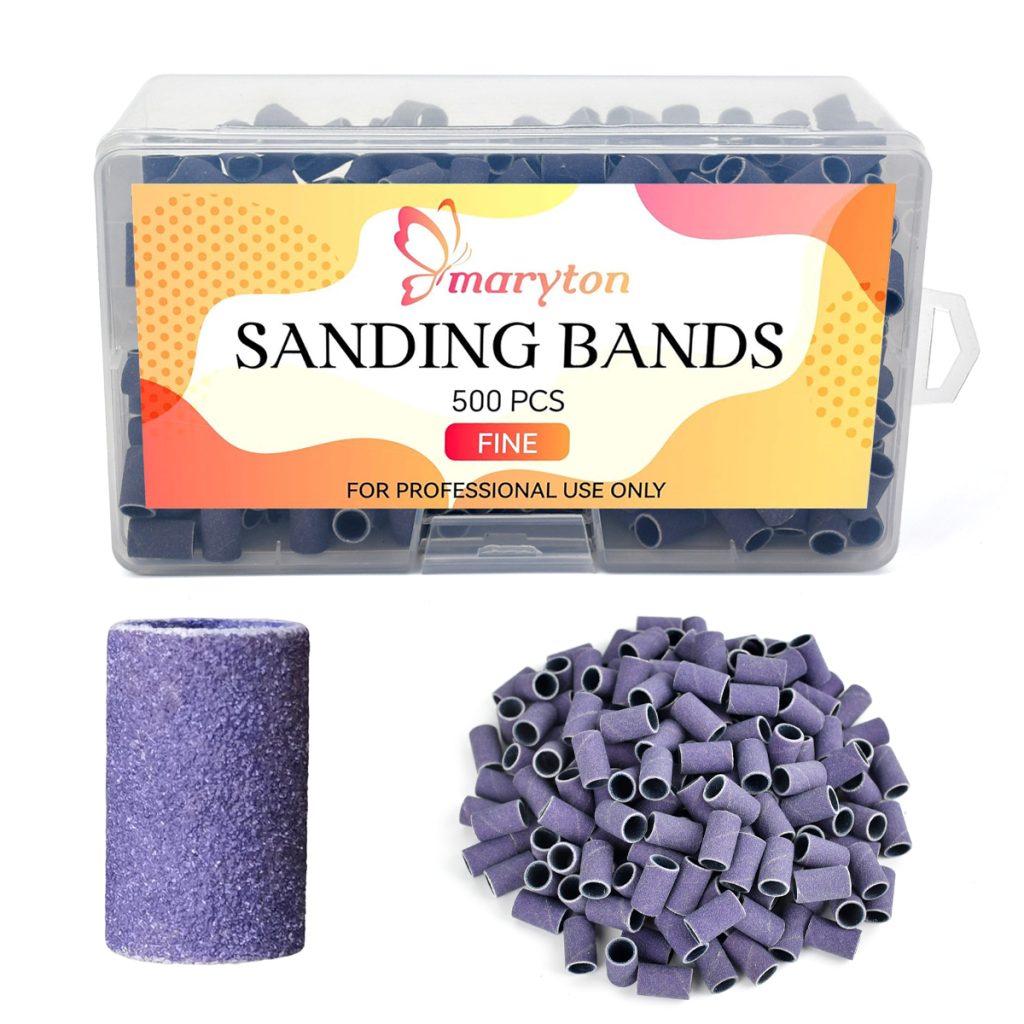
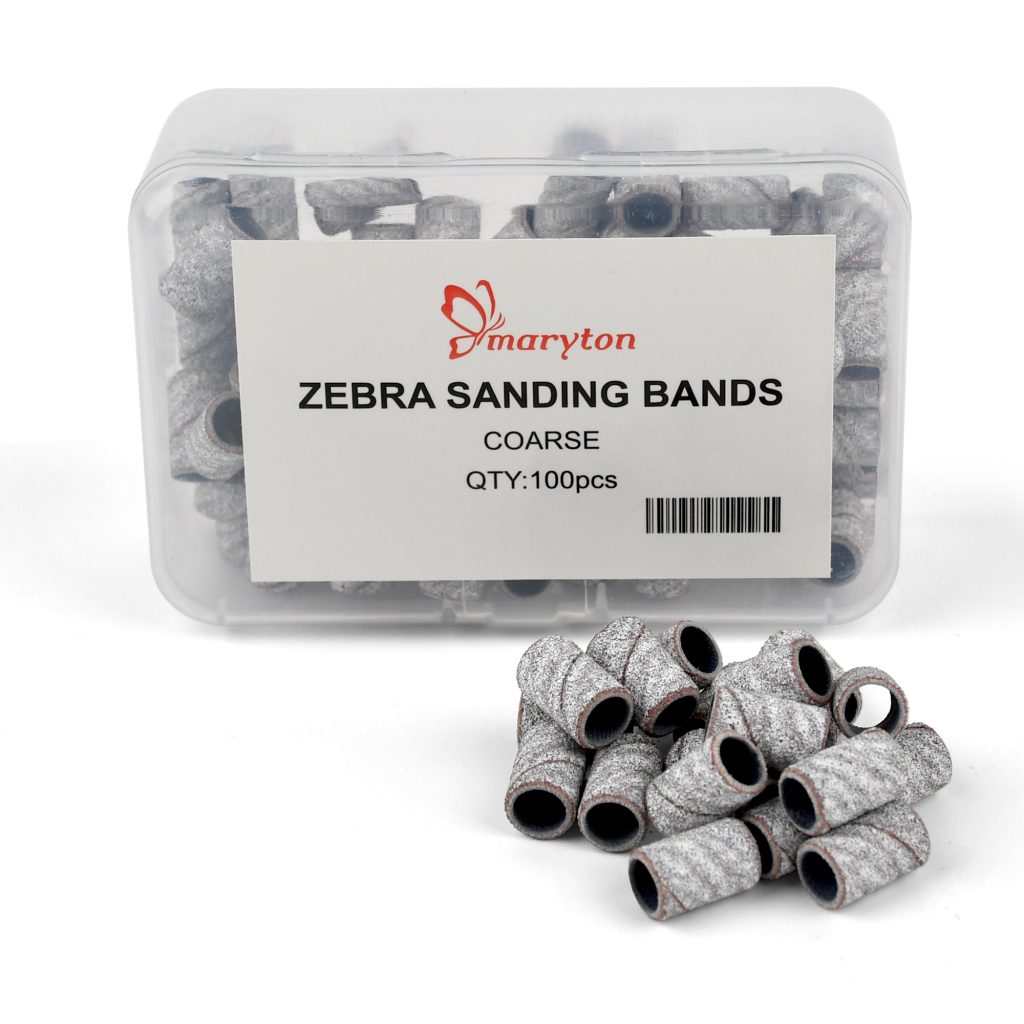
Sanding Bands & Mandrels are disposable sleeves used for shaping and surface work. They are perfect for beginners because they are forgiving and less likely to damage the nail plate.
Shapes: Getting into the Details
- Barrel Bit: Best for surface work, backfilling, and shaping the overall nail structure.
- Flame or Cone Bit: Designed for precision, this bit excels at cleaning the cuticle area and sidewalls without harming the skin.
- Ball Bit: The spherical shape is perfect for cleaning under the free edge and gently removing cuticle tissue.
- Safety Bit: As the name suggests, the rounded top makes it difficult to cut the skin, making it an excellent choice for beginners.
Step-by-Step Application Process Using Bits
To achieve a long-lasting 3-4 week manicure, you must combine the right preparation with careful application.
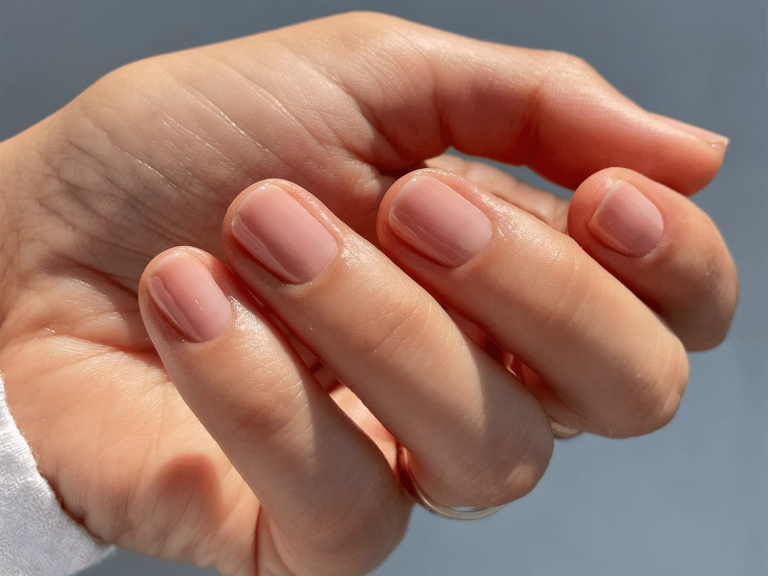
Phase 1: The Dry Manicure (Preparation)
Proper preparation is vital. Do not soak the nails in water; this causes them to swell and later shrink, leading to polish lifting. Use your fine-grit diamond safety bit at a low speed (around 5,000-8,000 RPM) to gently push back the proximal nail fold and clean any dead tissue from the nail plate. Switch to a ceramic ball bit to clean the underside of the free edge and remove any invisible cuticle residue. Finish the prep by gently buffing the nail surface with a sanding band to remove shine, creating texture for the gel to adhere to, then wipe away all dust with a cleanser.
Phase 2: Application & Refinement
Apply a thin layer of base coat and cure it according to the manufacturer’s instructions (usually 30-60 seconds in an LED lamp). Apply your semi-permanent color in two to three thin layers, curing fully between each. Finally, seal the color with a top coat. After the final cure, if you notice any roughness at the edges or a slightly uneven surface, use a fine ceramic barrel bit on a very low speed to smooth the area perfectly.
Phase 3: Safe Removal
When it’s time for a new set, reach for your ceramic cone bit. It shaves off the top coat and bulk color efficiently but with less heat than carbide. Leave a thin layer of base coat on the nail to protect the natural plate. For the remaining residue, soak the nails in acetone. Remember, forcing the product off or filing down to the bare nail will damage the natural nail structure.
Pro Tips for Flawless Results
- Match the Speed to the Task: Use low RPM for natural nail prep and cuticle work (3,000-5,000 RPM). Increase the speed for product removal, but always keep the bit moving to avoid heat buildup.
- Work in One Direction: Move the bit smoothly across the nail without staying in one spot to prevent burning the client.
- Keep It Clean: Bits collect dust and product. Use a wire brush to clean the grits of your diamond and carbide bits after each use to keep them cutting efficiently.
- Sterilize Tools: Metal bits (carbide and diamond) should be sterilized between clients. Sanding bands are single-use for hygiene.
Mastering nail bits elevates a basic gel polish service into a precise, healthy, and long-lasting art form.
Read also: The Silent Guardians: A Complete Guide to Nail Cuticle Care